


For every RV enthusiast, overlander, and off-grid adventurer who cherishes freedom on the open road, power is the lifeline. Yet, traditional lead-acid battery systems often become the bottleneck to true enjoyment: dimming lights, appliance anxiety, and the frustrating drone of a generator shattering a peaceful night.
If these pain points sound familiar, upgrading your RV's power system to lithium batteries will be a revolutionary change. This guide will walk you through the entire process—from planning and selection to installation and commissioning—to help you permanently eliminate power anxiety.
Table of Contents
- Understanding the Why: Convert to an RV Lithium Battery System
- Planning & Pre-checks: What You Must Know Before You Start
- Selecting the Right Lithium Battery System
- Upgrading the Charging & Monitoring Infrastructure
- Installation & Wiring Best Practices
- Real-World Examples & Troubleshooting
- Cost & ROI Analysis
- Common Mistakes & Myths Debunked
- Tools, Checklists & Templates
- Advanced Tips & Pro Tactics
- FAQs (Frequently Asked Questions)
- Upgrade Your RV System with LiTime
Understanding the Why: Convert to an RV Lithium Battery System
Before diving into the "how," we must first understand the "why." This isn't just a simple battery swap; it's an energy revolution that impacts efficiency, longevity, and your overall experience.
Key Definitions & Terminology
- Deep Cycle Battery: A battery designed to be regularly discharged to a significant portion of its capacity and then recharged. Both lead-acid and lithium batteries used in RVs fall into this category.
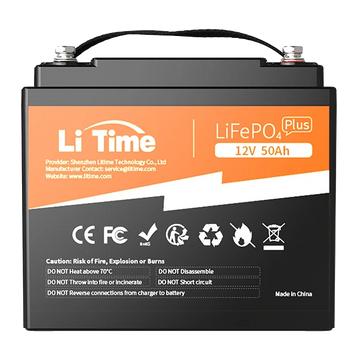
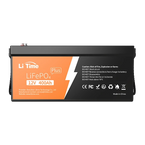
- LiFePO4 (Lithium Iron Phosphate): A specific type of lithium-ion battery chemistry that has become the gold standard for RV conversions due to its exceptional safety, thermal stability, and incredibly long cycle life.
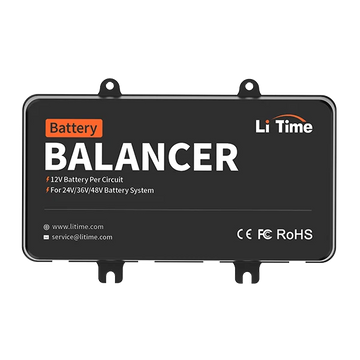
- BMS (Battery Management System): The "brain" of a lithium battery. It's an integrated electronic circuit board that monitors the battery's state, protects it from damaging conditions like over-charging, over-discharging, high/low temperatures, and short circuits, and performs cell balancing to ensure health and safety.
- DOD (Depth of Discharge): The percentage of a battery's total capacity that has been discharged. This is a critical metric that directly affects a battery's usable energy and lifespan.
Data-Driven Comparison: Lead-Acid vs. LiFePO4
| Feature | Traditional Lead-Acid (AGM / Flooded) | Lithium Iron Phosphate (LiFePO4) | The Advantage |
|---|---|---|---|
| Usable Capacity (DOD) | ~50% Recommended | Nearly 100% (Typically 95%+) | A 100Ah lithium battery provides the usable energy of a 200Ah lead-acid battery. |
| Cycle Life | 300–500 cycles (at 50% DOD) | 3,000–5,000+ cycles | Lasts 10x longer, making it a long-term investment. |
| Weight & Energy Density | Heavy, low energy density | 50%–70% Lighter, more compact | Frees up valuable payload capacity and space in your RV. |
| Charging Speed | Slow, with a long absorption phase | 4-5x Faster, accepts high charge currents | Captures energy from solar or a generator much faster, reducing wait times. |
| Maintenance | Requires regular checks (fluid levels, terminal cleaning) | Completely maintenance-free | Install it and forget it. |
| Voltage Stability | Voltage drops significantly as it discharges | Stable voltage throughout the discharge cycle | Appliances run more efficiently and consistently without performance sag. |
Summary of Advantages:
- Longer Lifespan: A one-time investment that can last the entire life of your RV.
- More Usable Energy: Nearly double the real-world power at the same advertised capacity.
- Lighter Weight & Smaller Size: Significantly reduces vehicle weight and optimizes space.
- Rapid Charging: Drastically shortens reliance on generators or shore power.
- Zero Maintenance: Saves time and hassle.
- Higher Efficiency: Less energy is lost during charging and discharging cycles.
Disadvantages & Risks (Be Aware):
- Initial Investment Cost: The upfront cost of lithium batteries is significantly higher than lead-acid.
- Compatibility Challenges: May require upgrading your existing converter, charger, and other components.
- Safety/Thermal Management: While LiFePO4 is incredibly safe, improper installation still poses risks. Low-temperature charging protection is a critical consideration.
Engagement Hook: What are the most power-hungry appliances in your RV? How much pressure are you under to make your power last through the night?
Planning & Pre-checks: What You Must Know Before You Start
A successful upgrade begins with meticulous planning. Skipping this step and buying a battery first is a common recipe for budget overruns and subpar performance.
Calculate Your Current and Future Power Needs
- List Your Devices: Create a spreadsheet listing all DC and AC appliances in your RV.
- Find the Wattage: Note the power consumption (in Watts) for each device.
- Estimate Daily Hours of Use: Estimate how many hours each appliance runs per day.
-
Calculate Daily Wh Demand: Multiply the wattage by the hours of use for each device to get its Watt-hour (Wh) consumption, then sum them all up.
Formula:Total Daily Need (Wh) = Σ (Appliance Wattage W × Hours of Use H) - Add a Buffer: Multiply your total daily demand by 1.2 to 1.3 (a 20-30% buffer) to account for inefficiencies, unexpected usage, and future additions.
- Consider Peak Current/Surge Power: Pay close attention to appliances like air conditioners, microwaves, and water pumps that draw a huge amount of power for a few seconds when they start. Ensure your chosen battery's BMS and inverter can handle these surge loads.
Existing System Assessment: Circuits, Wiring, Converter, Monitor
- Inspect Your Lead-Acid System: Note the voltage (typically 12V), the wire gauge (AWG) of the main cables, connector types, and the ratings of your fuses/circuit breakers.
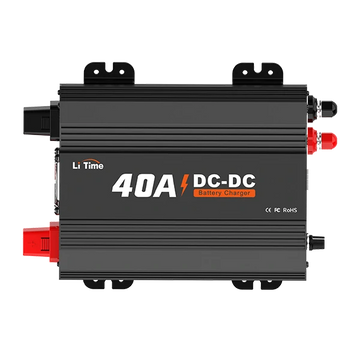
- The Compatibility Keystone: Converter/Charger: This is the most critical check. Most factory-installed converters designed for lead-acid batteries do not have the proper charging profile (Constant Current/Constant Voltage, or CC/CV) for lithium. You must confirm if your unit has a lithium setting; otherwise, it must be replaced.
- Battery Monitor: Lead-acid battery monitors often estimate charge based on voltage, which is highly inaccurate for lithium batteries due to their flat voltage curve. You need a shunt-based battery monitor.
Safety, Certifications & Compliance
- Battery Certifications: Ensure any battery you purchase has key safety certifications like UL, CE, and UN38.3.
- Installation Safety Codes: Ensure proper ventilation. Batteries must be securely mounted. Keep the area clean and away from heat sources.
- Insurance & Warranty: Check with your RV insurance provider and the RV manufacturer about how modifications might affect your policy and warranty.
Selecting the Right Lithium Battery System
Battery Chemistry & Features
- The LiFePO4 Advantage: Its stable chemical structure makes it the safest choice for mobile applications, highly resistant to thermal runaway.
- The Importance of the BMS: A high-quality BMS is essential and must include Over-Charge, Over-Discharge, Temperature, and Short Circuit Protection, as well as Cell Balancing.
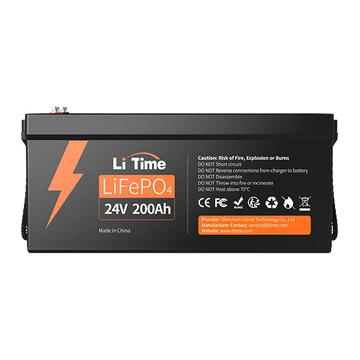
Voltage Architecture (12V / 24V / 48V)
- 12V System: The most common choice and simplest conversion.
- 24V / 48V System: Better for high-demand systems, allowing for smaller wiring, but requires DC-DC converters for 12V appliances.
- Parallel/Series Connection Rules: Only connect batteries of the exact same make, model, capacity, and age.
Capacity Sizing Principles
-
Ah to Wh Conversion:
Energy (Wh) = Nominal Voltage (V) × Capacity (Ah). - Sizing Rule: Your total battery bank capacity (Wh) should be greater than your calculated daily energy need (including the buffer).
- Plan for Expansion: Choose a battery with a BMS that allows for future parallel expansion.
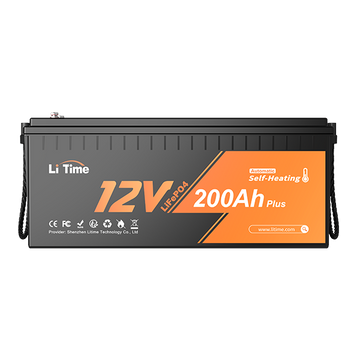
Temperature Protection & Heating/Cooling Solutions
- Low-Temperature Charge Protection: A non-negotiable feature. A good BMS will automatically cut off charging below freezing (0°C or 32°F).
- Solutions: Opt for batteries with built-in heaters, install them inside the conditioned space, or use external heating pads.
- Heat Dissipation: Ensure adequate airflow around the batteries for cooling in hot climates.
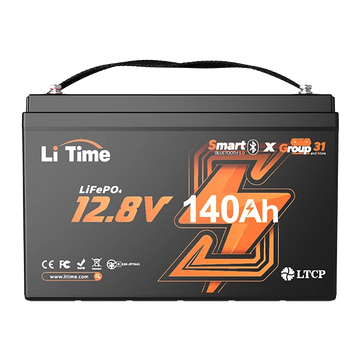
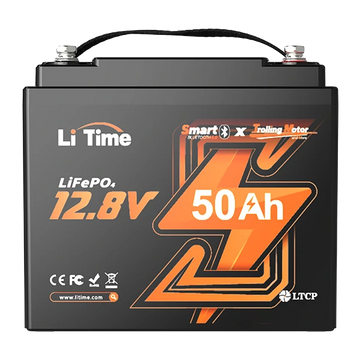
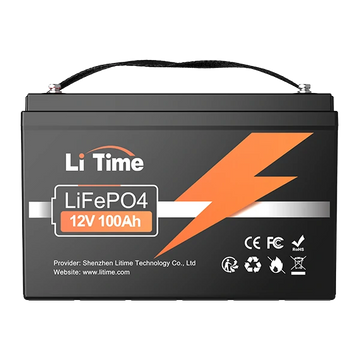
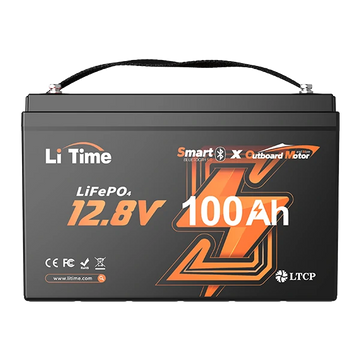
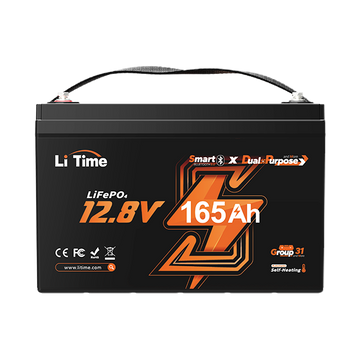
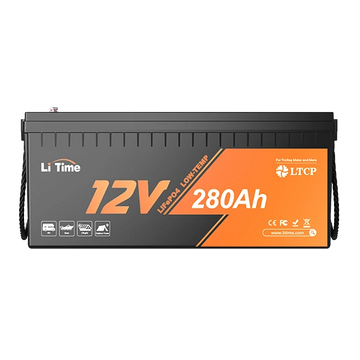
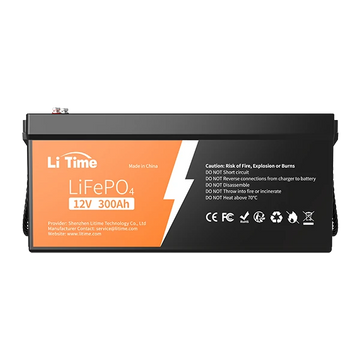
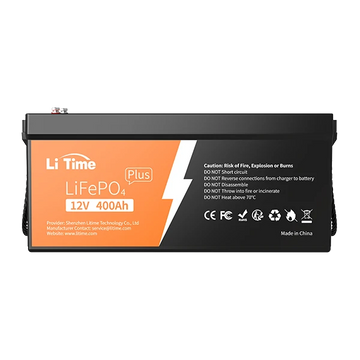
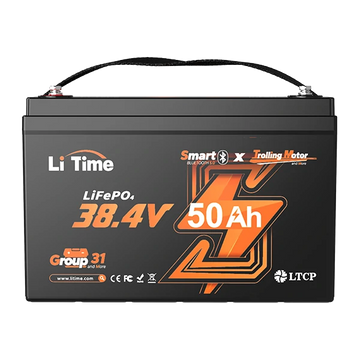
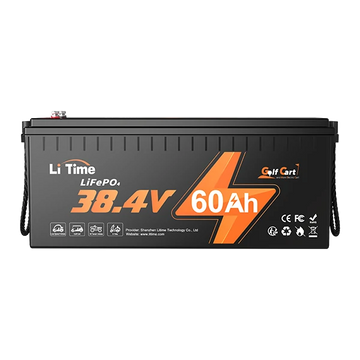
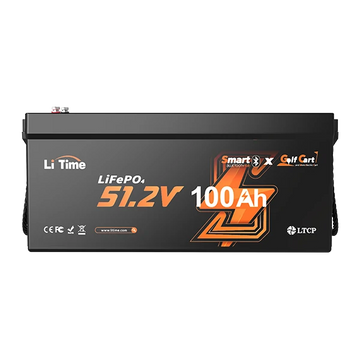
Recommended Brands & Models
Popular and well-regarded brands include Redodo, Dakota Lithium, and Epoch.
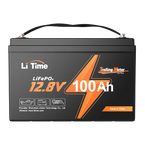
- 100Ah: Good for weekend trips.
- 200Ah or 2x100Ah in Parallel: A popular setup for most RVers.
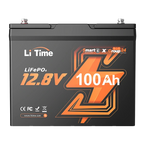
- Heated Versions: Highly recommended for cold-climate travel.
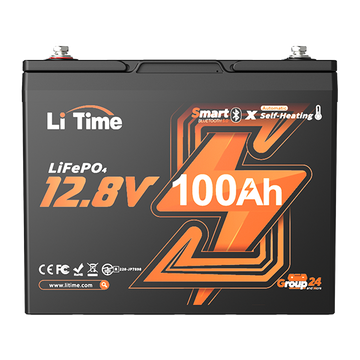
- Bluetooth Versions: Allow for convenient monitoring via a smartphone app.
Upgrading the Charging & Monitoring Infrastructure
Replace/Upgrade the Converter/Charger
- Charging Profile Requirements: Lithium needs a Constant Current / Constant Voltage (CC/CV) profile without a "float" stage.
- Recommended Solutions: A direct replacement with a lithium-compatible smart charger or an all-in-one Inverter/Charger unit.
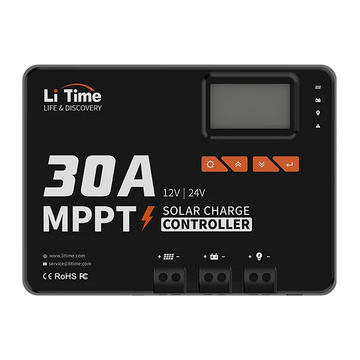
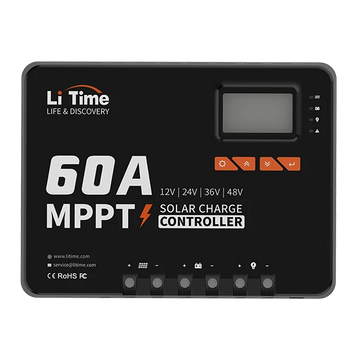
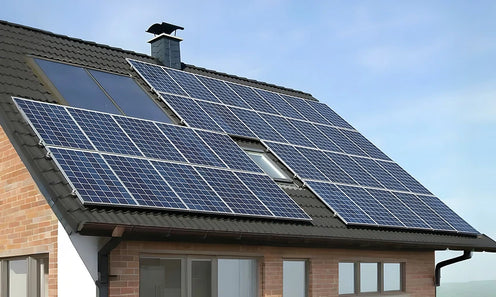
Solar / MPPT Controller Integration
- Solar System Design: Size your solar array to meet or exceed your daily power consumption.
- MPPT is a Must: Use an MPPT (Maximum Power Point Tracking) solar charge controller, which is more efficient and has lithium-specific settings.
Generator / Shore Power Integration
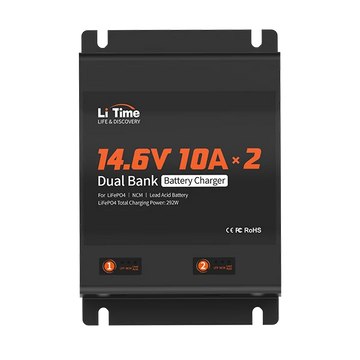
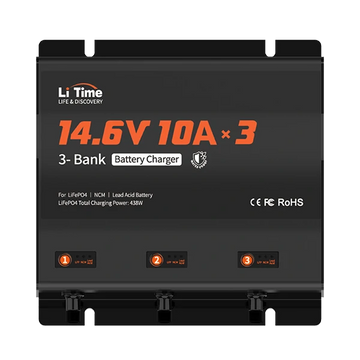
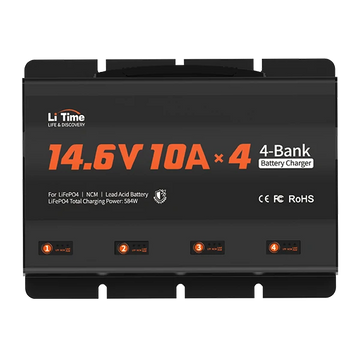
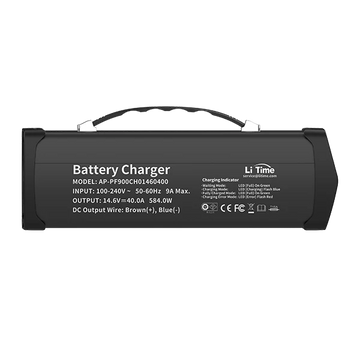
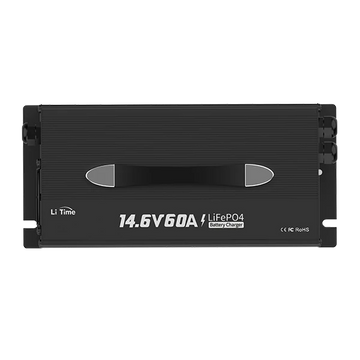
Charge your batteries through a new lithium-compatible charger. A good charge rate is 20-40% of your total bank capacity (e.g., a 40-80 Amp charger for a 200Ah bank).
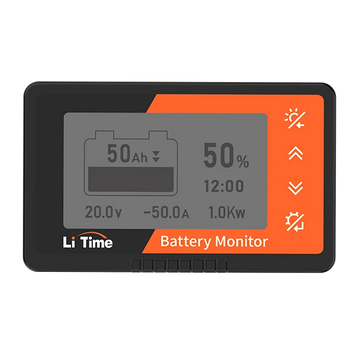
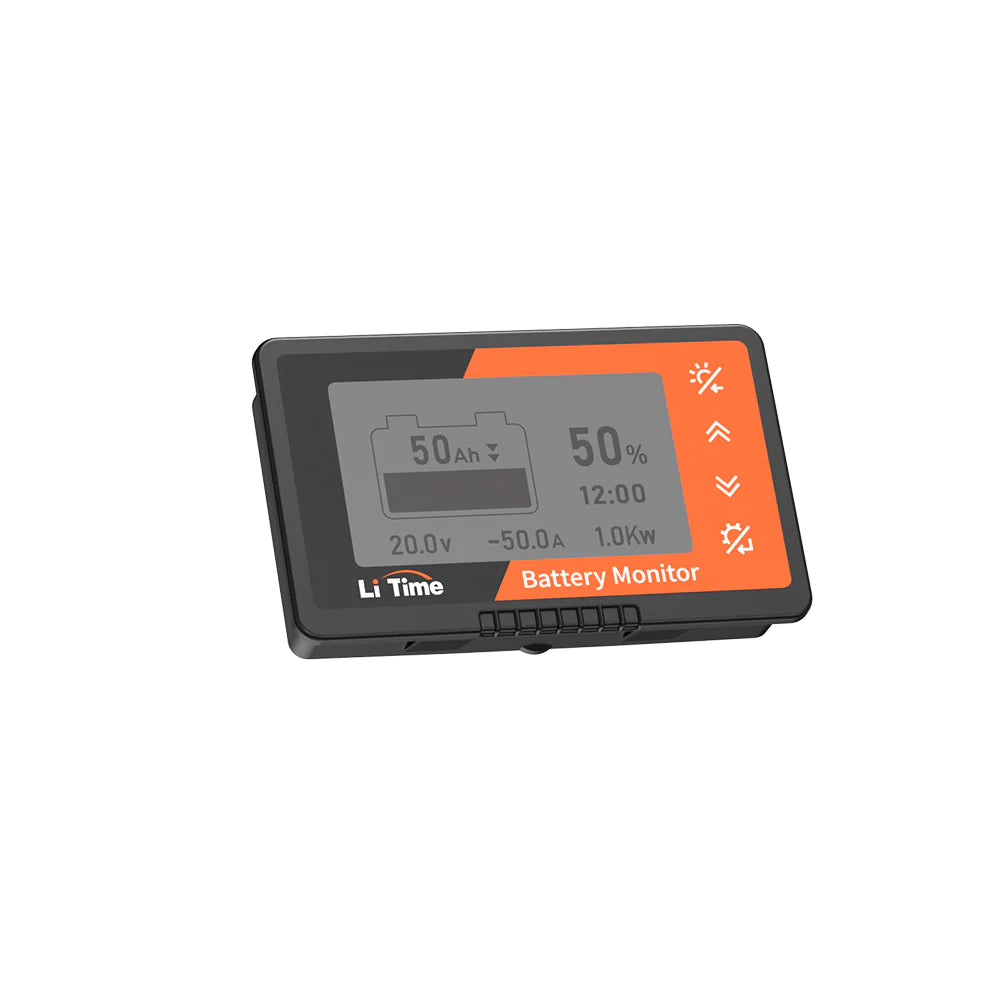
Battery Monitoring & Metering System
- A Shunt-Based Monitor is Essential: This is the only way to get an accurate State of Charge (SOC) reading.
- Real-Time Status: A good monitor displays voltage, current, power, SOC, etc.
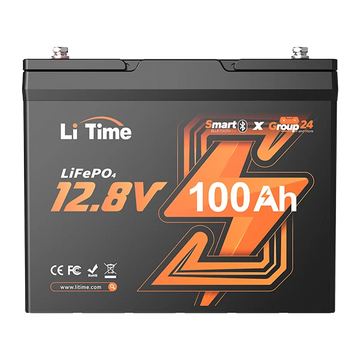
- Bluetooth/WiFi Monitoring: Many modern monitors offer remote viewing via a smartphone app. Visit LiTime Bluetooth Lithium Batteries and monitor the batteries via your phone.
Installation & Wiring Best Practices
Wire Gauge, Connections, Terminals, Fuses & Breakers
- Cable Sizing: Wire gauge (AWG) must be sized based on maximum current and length to prevent heat and voltage drop. Always consult a wire gauge chart.
- Connections: Use high-quality copper lugs, a hydraulic crimper, and seal connections with heat shrink tubing.
- Fuses/Circuit Breakers: Every positive line must be protected by an appropriately rated fuse, installed close to the battery.
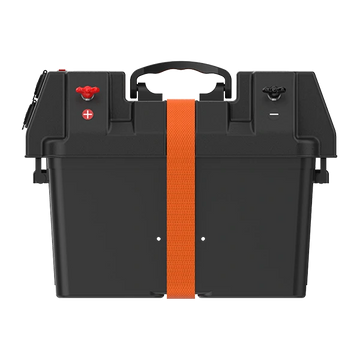
Layout, Mounting Environment & Structural Security
- Battery Box/Mounting: Securely fasten batteries to prevent any movement.
- Ventilation & Spacing: Leave at least an inch of air space around each battery for cooling.
- Environmental Protection: Protect from water, dust, and direct heat sources.
System Testing & Commissioning
- Initial Power-Up: Use a multimeter to verify voltage and polarity.
- No-Load Test: Connect charging sources and observe the charging process.
- Load Test: Progressively turn on appliances and monitor for voltage drop or heat.
- Monitor Calibration: Fully charge the batteries, then calibrate your monitor to 100%.
Real-World Examples & Troubleshooting
Case Study 1: Battery Won't Fully Charge After Upgrade
Diagnosis: User was still using their old lead-acid converter.
Solution: Replace the old unit with a modern, lithium-compatible converter/charger.
Case Study 2: System Shuts Down When a Large Appliance Starts
Diagnosis: Excessive voltage drop from undersized wires between the battery and inverter.
Solution: Upgrade to much thicker gauge cables and shorten the cable run.
Troubleshooting Checklist
| Symptom | Possible Cause | What to Check |
|---|---|---|
| Won't Charge | BMS temp protection; Blown fuse; Loose connection | Check battery temp; Check fuses; Tighten terminals |
| Won't Discharge | BMS low voltage/over-current protection; Breaker tripped | Charge battery; Turn off large loads; Check breaker |
| Severe Voltage Drop | Wires too thin; Bad connection; Battery is low | Check cable gauge; Check crimps; Charge battery |
| Inaccurate Monitor | Shunt wired incorrectly; Monitor not calibrated | Verify shunt wiring; Fully charge and re-calibrate |
Cost & ROI Analysis
Initial Cost Breakdown:
- The Battery Itself
- Component Upgrades (Converter, Monitor, etc.)
- Wiring & Hardware
- Labor (if not DIY)
Return on Investment (ROI):
- Longevity: One lithium battery can outlast 5-10 lead-acid batteries.
- Fuel Savings: Dramatically reduced generator run time saves on fuel and maintenance.
- Experience & Resale Value: The priceless value of quiet campsites and increased RV resale value.
Common Mistakes & Myths Debunked
-
Myth #1: You can't ever use a lead-acid charger on a lithium battery.
Truth: It's an emergency-only measure that will undercharge the battery and should not be done long-term. Always use a dedicated lithium charger. -
Myth #2: Lithium batteries are unsafe and can explode.
Truth: RV LiFePO4 batteries use an incredibly stable and safe chemistry that is not prone to thermal runaway. -
Myth #3: You have to completely remove the old lead-acid system.
Truth: For most users, a full replacement is the simpler and more efficient path.
Tools, Checklists & Templates
Installation Checklist
- Planning Phase:
- Calculate power needs and add a buffer.
- Assess system and identify components for upgrade.
- Sketch a wiring diagram.
- Component Selection Phase:
- Finalize battery capacity, voltage, and brand.
- Select a compatible converter/charger.
- Select a shunt-based battery monitor.
- Purchase all necessary cables, lugs, and fuses.
- Installation Phase:
- Disconnect ALL power sources.
- Remove old batteries and components.
- Install and securely mount new batteries.
- Install new charger, monitor, etc.
- Run cables, crimp terminals, and install fuses.
- Testing Phase:
- Double-check the polarity of all connections.
- Perform no-load and load tests.
- Calibrate the battery monitor.
Essential Tools List
- Must-Haves: Digital multimeter, hydraulic lug crimper, wire strippers, socket/wrench set.
- Recommended: Torque wrench, heat gun, heavy-duty cable cutters.
Advanced Tips & Pro Tactics
- Mixed-Voltage Systems: Use a 24V or 48V bank with a DC-DC step-down converter for 12V appliances.
- Dynamic Load Management: Use smart relays to automatically shed non-essential loads when battery levels are low.
- Automated Power Switching: Use an automatic transfer switch to seamlessly switch between power sources.
- Future-Proofing: Design your system with modularity in mind for easy expansion.
FAQs (Frequently Asked Questions)
-
Can I just drop in a 12V lithium battery to replace my 12V lead-acid?
Yes, but to get the performance and lifespan you're paying for, you will almost certainly need to upgrade your converter/charger to a lithium-compatible model.
-
Will my converter damage my lithium battery if it only charges to 14.4V?
It won't cause immediate damage, but it may fail to fully charge and balance the battery. A dedicated charger is always best.
-
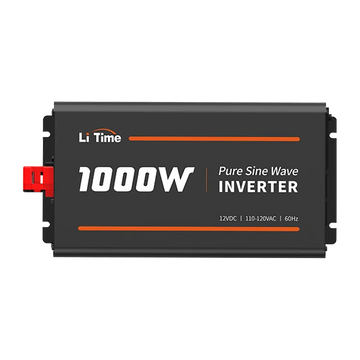
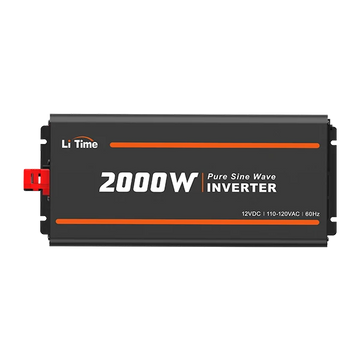
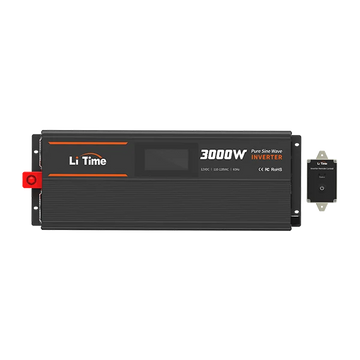
Can a lithium system run my RV's air conditioner?
Absolutely, but it requires a large battery bank (300-400Ah+) and a powerful pure sine wave inverter (2000-3000W).
-
How do I charge my lithium batteries in freezing winter temperatures?
The best solution is to buy batteries with built-in self-heating or install them inside the heated living space.
-
Can I mix lead-acid and lithium batteries?
It is strongly recommended not to connect them directly in parallel due to their different chemical and charging properties.
-
What if I find my battery capacity isn't enough after installation?
If your battery is designed for parallel expansion, you can add another identical battery. This highlights the importance of planning ahead.
Upgrade Your RV System with LiTime
Upgrading your RV to a lithium battery system is one of the most worthwhile investments you can make. It solves today's power frustrations and unlocks a new level of freedom, peace, and reliability in your travels. We hope this ultimate guide provides you with a clear roadmap for your conversion. Happy building, and safe travels!
Visit LiTime Lithium RV Batteries for your new RV battery system!